How much resolution does a document scan need?
Enough for the reviewer to enlarge the smallest official detail without it breaking apart.
This page separates a practical quality warning from an official requirement. The receiving authority's instructions take priority.
DPI is a diagnostic, not the whole answer
DPI describes how many pixels represent a physical inch. It can help identify a weak scan, but sharp focus, even lighting and a clean source matter too. A high-DPI photograph can still be unreadable if it is blurred or reflective.
Start with a clean source
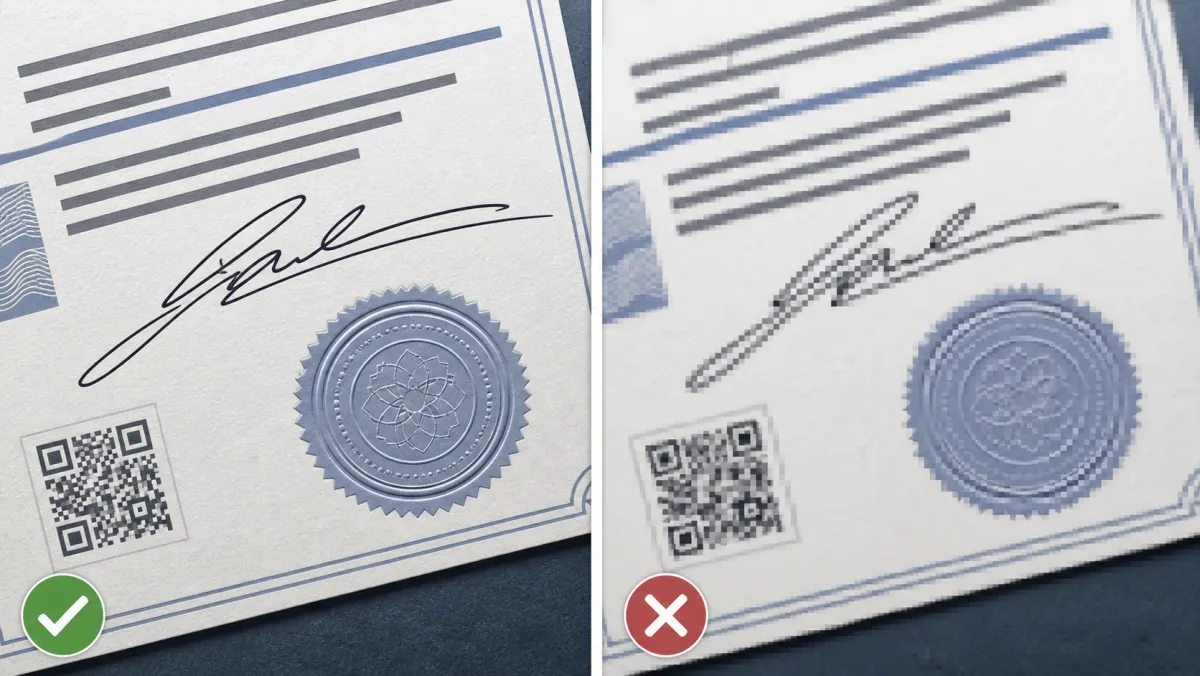
Scan from paper at a sensible document setting and preserve the original. If a page already has too few pixels, compression only removes more information. No browser tool can reconstruct letters or seal details that were never captured.
Judge the final file
Open the processed PDF and zoom into the smallest text, not merely the page thumbnail. Inspect apostilles, signatures and verification codes. If the page becomes blocky before those details are readable, rescan the source.
About our warning
Listo para Subir flags very low estimated resolution to prevent further degradation. That warning is a practical threshold created by this tool, not an official requirement imposed by a government authority.
Why a single DPI number is misleading
A scan can report a high DPI value and still be unusable because it is out of focus, photographed at an angle or covered by glare. A lower-resolution page with clean black text may remain perfectly readable. Treat DPI as an early warning and judge the exact final page at useful zoom.
Text PDFs and scanned PDFs behave differently
A document exported directly from an office application usually contains vector text that stays sharp when enlarged. A scanned PDF contains photographs of pages, so every reduction removes image detail. Preserve native text pages and focus compression on the large scanned pages.
A practical final test
- Open the processed file rather than the source.
- Zoom into the smallest name, date and reference number.
- Inspect signatures, seals and verification codes.
- Check every page because one weak scan can hide inside a clear document.
- Return to the paper original when the source is already blurred.
What compression removes first
Compression softens thin strokes and can create blocks around sharp edges. Small serial numbers, accents, signatures and stamp borders can fail before large body text. Judge the smallest meaningful detail, not the headline.
Do not repeatedly recompress
Each lossy export can remove more information. Keep one untouched source and generate each upload copy from it. Passing an already reduced scan through several unrelated tools makes the damage cumulative.
Resolution is not validity
A sharp scan can still be wrong, expired or incomplete. Pair this quality check with the final document checklist and the receiving authority's current instructions.